Thursday 22 March 2012

Creativity Kickstart


Sometimes I need a kickstart to my creativity...

My daily dose of inspiration often comes via Brain Pickings, a beautifully curated newsletter highlighting a treasure trove of culture, art, literature, you name it.

I just ordered Austin Kleon's "Steal Like an Artist" --- I suspect it's just what I need for that little extra bit of motivation. 

Wednesday 21 March 2012

Easter Egg Banner


Here's my take on a festive banner --- with decorative easter eggs instead of pennants.  In keeping with the large event space, each egg needed to be fairly large --- in this case over 24" tall.

Using a combination of spray paint and acrylics, I painted the base colors for maximum impact and visibility.  I chose vibrant shades of pink, teal, aqua, violet, chartreuse and turquoise and embellished with intricate decorative motifs based on vintage fabric, wallpaper designs, and pottery decorations.  Last, I used puffy paint ---- yes, the ones that come in squeeze tubes --- and applied Faberge-style filigrees and other embellishments for added dimension and interest.

Here's a photo of an egg in progress....

Revisiting the Easter Bunny


Easter decor doesn't always have to be cutesy bunnies and fluffy chicks. For this fabulous Egg Hunt, I decided to go witty and whimsical, with a touch of the graciousness of "Downton Abbey," with a topiary bunny wearing a velvet waistcoat atop a granite pedestal.

Using acrylic paint on foamboard, I was able to create a dimensional, yet light-weight and portable, decorative element which can be stored and re-used year after year. Faux painting techniques --- the stone texture with the grisaille work, boxwood texture of the topiary --- create the the highlights and shadows that give the piece dimensionality. As an added bonus, various tactile items --- real buttons on the cuffs, a silk daisy on the lapel, and puffy paint for the stitching and piping --- were added to the flat painting. The silk flag on a long pole gives the piece a bit of movement and fun.

More Easter projects to come!

Monday 12 March 2012

Treasure Hunt: Ode to Edgar Allan Poe


I love old books --- the older, more dog-eared, and tattered, the better.  While this preference for the worn and battered probably won't increase the value of my collection, it almost guarantees that the books that find their way onto my shelves were well-read and well-loved.

This weekend, my husband and I came across this lovely volume of poems by Edgar Allan Poe at The Curio Emporium in South Pasadena.  Published in 1891, this edition includes "The Raven," "Annabel Lee," and "To Helen."  The beautiful embossed leather cover was tattered along the spine, and each page was edged with the nicotine-colored patina of old paper.  The leather had so worn away on the spine that the stitching which binds the pages together was visible, stained and brittle with age.
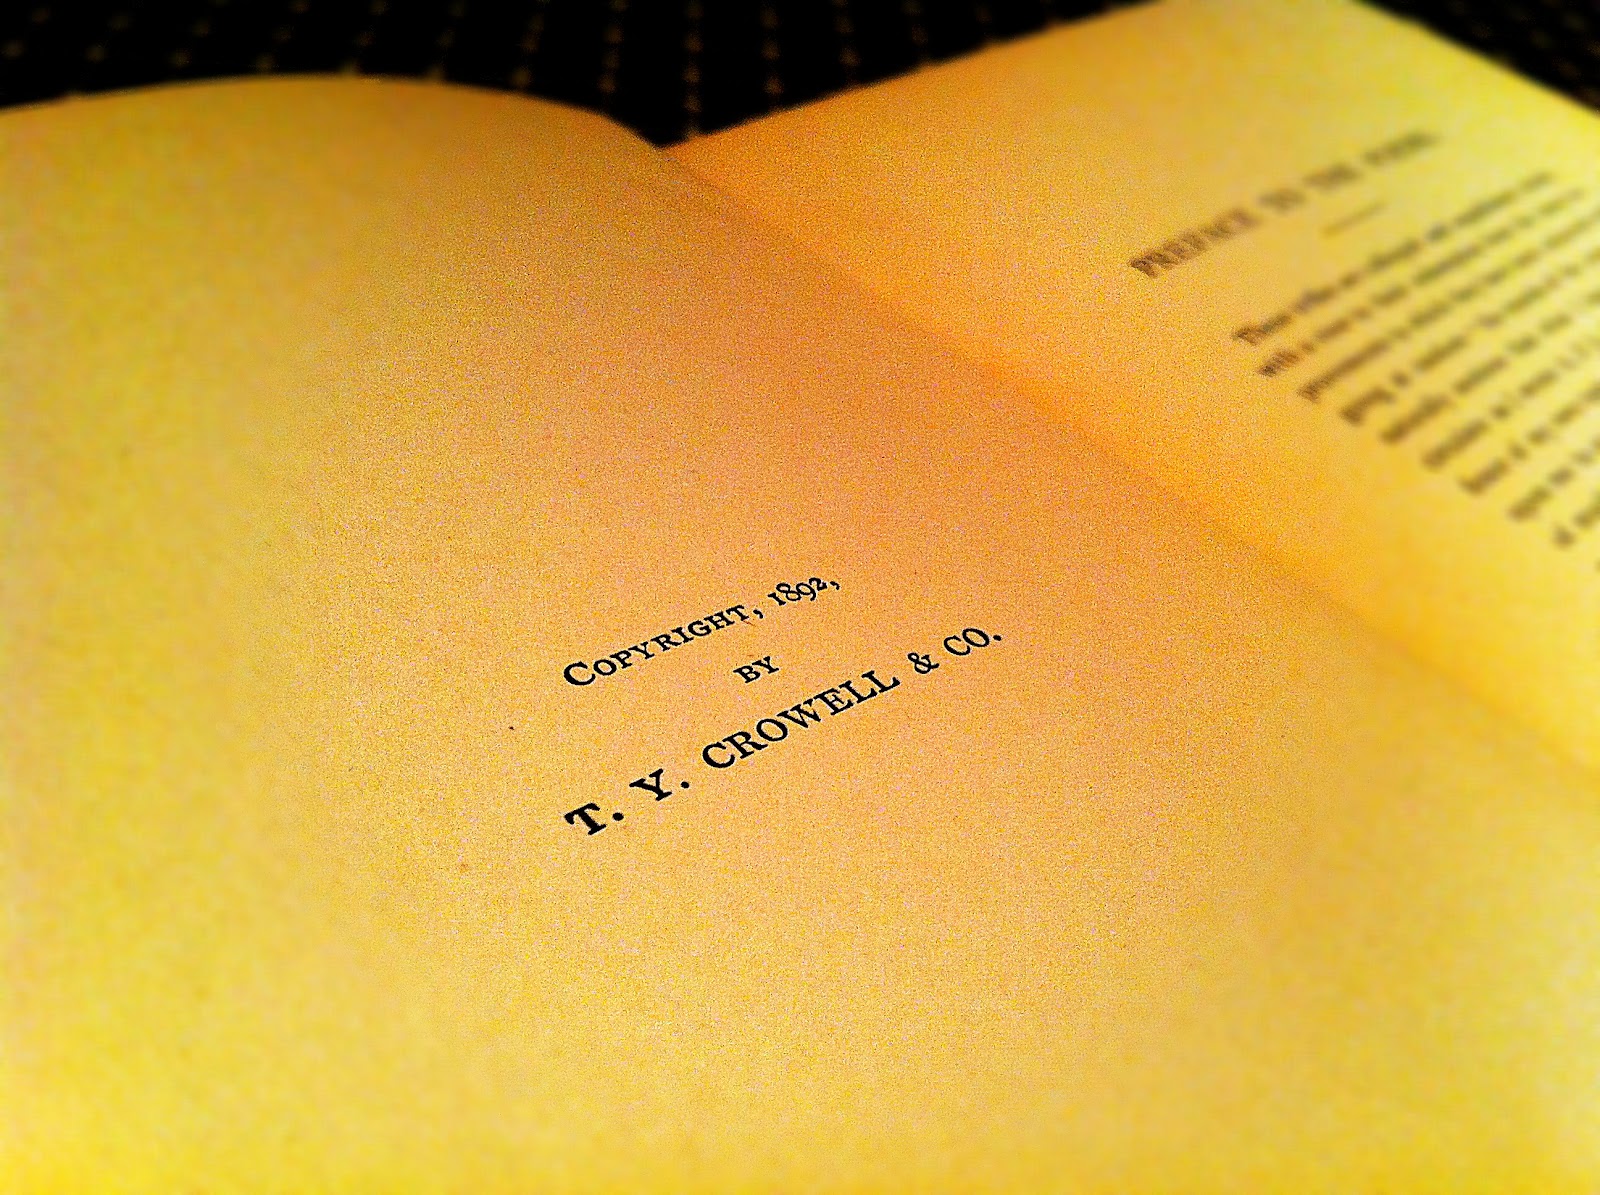
Published by T.Y. Crowell & Co., 1891
Despite the signs of wear, there is no denying the beauty of the actual book.... the name Edgar Allan Poe emblazoned in gold leaf across the front in gorgeous antique lettering; the embossed acanthus leaf design on the leather, gold leaf edges and wax paper liners on the engraved illustration.

 Newspaper clippings tucked into the pages.
As an added attraction, a previous owner had snipped newspaper articles about Poe's romance with a certain Mrs. Whitman from a Boston newspaper in 1916.  These various clippings were all carefully tucked within the pages of the book and are as delicate and ephemeral as butterfly wings after almost a century.  Various Inscriptions and book plates detail a history of a treasured book being passed from one book lover to the next, and I'm so proud to be a stop along the way on its journey.

EKKPKSCYXV5V

Thursday 8 March 2012

The Sign at Rialto Theatre in South Pasadena is Coming Down

Copyright Lea Antonio 2007
Sad day.  The Rialto Theatre's sign --- crumbling, peeling, rusting and glorious --- is coming down for safety reasons.  I for one have always considered the Rialto Theatre, in its Spanish Baroque splendor, the centerpiece of our small town, and am so sad that the building will lose its crown.

As recently as a few years ago, you could still see lines forming on Fair Oaks Blvd. at midnight for screenings of the Rocky Horror Picture Show, The Shining, and Halloween, which was filmed right here in South Pasadena.  We sat on the uncomfortable seats, with the springs poking painfully into our bottoms, hoping that the armrest wouldn't fall off in the middle of the movie.  But that was all part of the "experience" --- a little throwback to a simpler time when widescreen televisions and 5.1 sound were unknown.

I'm glad I had the opportunity to paint the Rialto sign while it was still a thriving part of our community, and I look forward to the day when it can re-crown our small town treasure.

Update:
South Pasadena Patch has posted an update, indicating that Landmark Theatres has hired a structural engineer to develop a plan which MIGHT enable the sign to remain on the building if it can be safely secured.  Details can be found here:

http://southpasadena.patch.com/articles/historic-rialto-theatre-south-pasadena-landmark-theatres-sign-coming-down

I Love Silhouettes

Silhouettes made from cut paper are so beautiful and delicate, but can be very time-consuming to cut by hand.  I made these vintage-style silhouettes with Adobe Illustrator from photos provided by my clients.  On Illustrator, I can try out different hair styles, like the Gibson Girl updo shown above, and customize clothing details.  Switching out the backgrounds to test out the final look is also a cinch.

The final versions of these will be printed on pages from books, vintage street maps, and tonic labels.

Monday 5 March 2012

Before and After: Steampunk Ray Gun

Last night, while I was trawling for some recreational crochet patterns, I came across a tutorial on the Craftzine blog on transforming a plastic watergun into a glorious steampunk ray gun.  Needless to say, I had to try it out.  My son has generously donated one of his Nerf shooters with the condition that he gets to keep the final steampunk creation.  Done deal!


Here's the super-punkerific AFTER in all its glory...


This is how it looked PRE-steampunk transformation... 


While waiting for the paint to dry, I took a few photos of the project in progress.  I followed the tutorial fairly loosely, with whatever materials I had on hand.

1.  After scraping the plastic gun on the sidewalk, and
scratching it up with a craft knife, I spray painted it with
black primer.

2.  When the paint was dry, I hot glued a few nuts and bolts,
furniture tacks, and some gear-like pieces onto the gun.  Next
time I will glue these on BEFORE I spray prime the piece so
they can be primed too.  

3.  Next, I applied some copper accents using Sophisticated
Finishes' Copper Topper only on certain parts.  In other parts,
I applied Instant Iron for contrast.

4.  On other parts, I applied metallic gold craft paint and left
it pretty brushy to mimic a burnished finish.

5.  On the parts painted with Instant Iron, I dripped some rusting
solution which will develop and orange patina over time.  The 
copper parts will eventually turn green wherever I applied the
patina solution.

Sunday 4 March 2012

Papercut Bug


I don't usually have the patience for cutting intricate designs into paper, but armed with my new knife and inspired by papercutting master Elsita, I've attempted a flying bug with decorative wings [a tester] on linen embossed cardstock to be used as a paper element in my steampunk centerpiece.  Displayed on a bed of moss under a glass cloche, it awaits a few additional touches... some dried poppies, or real honeycomb, and polished stones for eyes.

A closer view

Saturday 3 March 2012

Arrangement in Steampunk #4: Gearing Up for Robots

Steampunk robot assembly in progress last night... I felt like a kid with a new toy!  After taking apart a number of old clocks, I've managed to collect a very nice variety of antique brass gears and guts.  Channeling my inner Frankenstein, matching this gear with that chain, and mixing this screw with that nut, I ended up with... Lola... at least that's what I'm calling her for now.

The final assembly will include a nod to her clock ancestry, lit by test tube lights on a decoupaged tray.

Assembled from clock gears, chains and the actual pendulum.