Monday, 27 February 2012

Arrangement in Steampunk #1


Assembly has finally begun on the steampunk centerpieces... hoorah!  This first arrangement is just dipping a toe into the whole steampunk aesthetic, in keeping with the clients' love of books, sci-fi, oddities, and gadgetry.  The remaining arrangements will go deeper, I promise.

A tiny carved cork pavilion atop a bed of moss and anchored by crepe myrtle branches sits esconced in its copper and rivet dome.  Tattered volumes sit on a tray made from the back panel of a London County Council clock, embellished with some gears and trimmed with the clock's chain.

An alligator claw atop a copper plumbing fixture adds a touch of the unexpected.  For height, pthalo blue-painted pear branches adorned with paper leaves (cut from pages of the Disraeli biography) is anchored to the tray with copper pipe fittings.


Detail of pear branches with paper leaves

Top view

Friday, 24 February 2012

Before and After: Disraeli in Love

In the bottom of the book bin at the cavernous St. Vincent de Paul thrift store in downtown, I uncovered a wonderful selection of overlooked works of literature --- the libretto of The Pirates of Penzance, a biography on Benjamin Disraeli, and a history of the Harvey Girls.  Sadly, the covers were falling off, and the spines were broken, but I rescued them anyway, destined to be altered into artpieces which will serve as a centerpiece for a wedding.

From the forgotten book bin.
Expanding on the theme of love (it's for a wedding after all), I slipped a fresh blade into my Olfa knife and started hacking away at the pages, carving away layer after layer.  A few smudges of charcoal and some additional finessing with scissors, and...

"Disraeli in Love," paper and charcoal, Lea Antonio, 2012.

A quiet forest,
A starless night perfect for
lovers' midnight tryst.


Before and After: Vintage Copper

In order to artfully display a few small scale carved pieces for the upcoming Steampunk Wedding, I thought glass bell jars or cloches would be the perfect solution.  They are pretty easy to find at thrift stores and, if worse comes to worse, you can always turn a glass bowl upside-down.  Here are a few of the glass objects I scored for a few dollars at St. Vincent de Paul in downtown LA.

A wooden cheese plate with glass cover, upturned bowl of floor-standing candle holder, and an old liqueur bottle (there was even a little bit of liqueur left in the bottle!).
After applying some weld lines and rivets to the wooden cheese plate, I painted on some iron paint and applied a rusting solution.  While I waited for the rust to develop, I applied a copper band to the rim and the handle of the glass cover, and dripped on some patina solution.  After a few hours of (very impatient) waiting time, this is what I ended up with!

Rust plated covered dish.

Next up, the glass bowl which originally sat in an iron stand, now discarded.  I upturned the bowl and turned it into a dome.  Using puffy paint (yes, the kind that comes in squeeze bottles) I dotted the lip of the dome with large dots (faux rivets) and applied copper to the whole lip.  A little patina solution and I have a display dome suitable for Capt. Nemo's parlor.


Steampunk Bits and Bobs

To be perfectly honest, up until a few months ago, steampunk as an aesthetic was completely off my radar.  But in recent months, with an important project in the works, I've immersed myself in a world filled with the perfection of gears and cogs, the smell of old books, the patina of aged copper, the buzz of Edison bulbs, and the exuberance of outlandish gadgetry.

I'm lucky to have been chosen to create a series of portable art-pieces to adorn tables at an upcoming steampunky sci-fi wedding.  To call them centerpieces would be inaccurate... rather they are mini homages to the happy couple's love of books, science fiction, and technology, with a Jules Verne twist.

First things first, you have to collect the materials, which is no easy task when miniature copper steam engines and Victorian objet d'artes are on the list.  Instead, I've collected bits and bobs, odds and ends, and as many old things that Aidan (my son) and I can take apart.

Here are a few of the things I've got in my growing stash parts, ready to be altered, painted, riveted, and transformed into steampunk heaven.  And, yes, those are preserved alligator claws.

An old specimen caddy.

Some kinda clip-on magnifier... clip on to what?

Alligator claws.
Glass elements.

Pre-tarnished candelabra.

An ancient and futuristic iron.

From the plumbing department.

Looks rather robotic to me.

Some kinda clamp.


I call them alien seed pods.

Brass clock gears.

Tuesday, 21 February 2012

Saliko's Soiree

After a lot of spraying, sketching, shading and erasing, we ended up with a lot of black-and-white fabulousness, with little punches of red just to mix it up a little.

Wednesday, 25 January 2012

Vintage Chalk


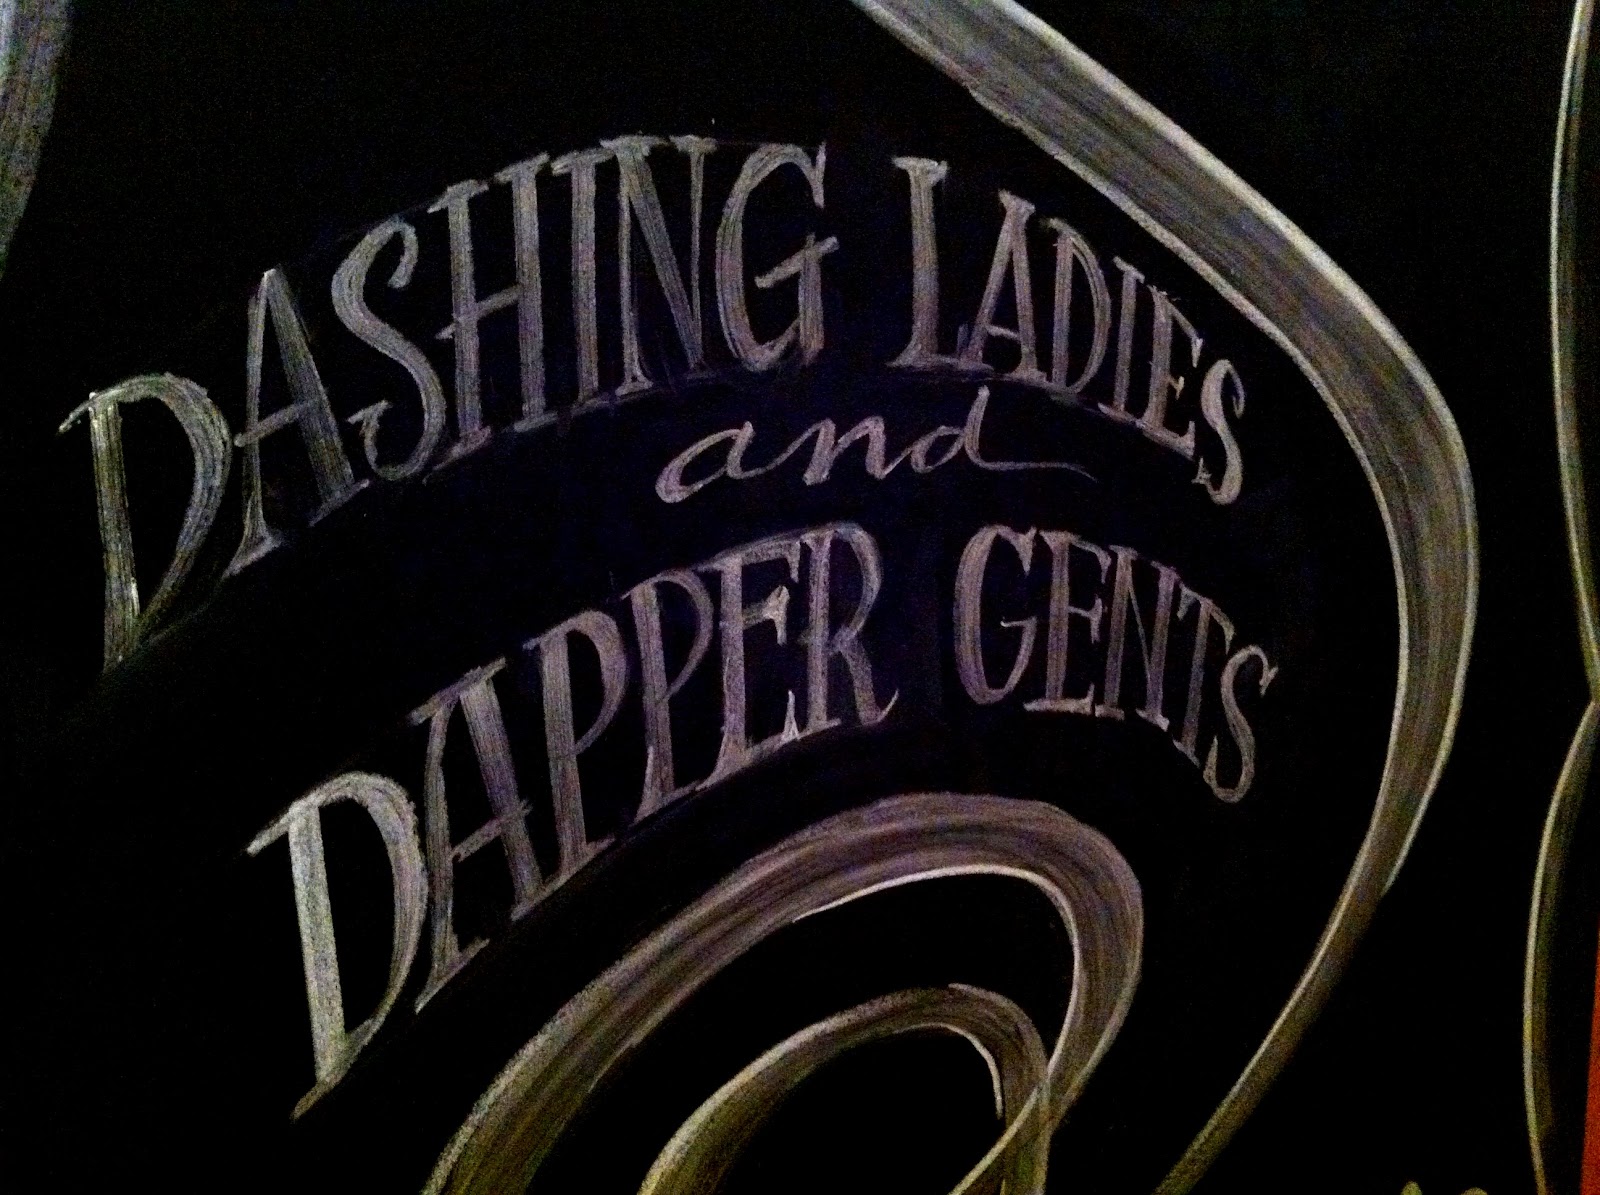
Warm, witty and unique is what we were going for.  A can of chalkboard paint and a couple of sticks of chalk later, this is what I came up with for the welcome sign to my daughter's birthday party.  Fun design, fiscally sound execution, and super fast to do.  Wish all my freelance projects were this easy.

Tuesday, 10 January 2012

Easy Chalkboard Decorations


Coming up with designs for a teenager's party can be hit or miss, so we've decided to do erasable decorations!  With a selection of large foam board panels, chalkboard spray paint, and a box of school chalk (do they still even use chalk in school?), I plan to make all kinds of decorative elements.  This should work for photo ops, buffet signs, and other decorations.  Hmmmm....I may even spray some black canvas for a chalkboard tablecloth.

First up, an entry sign which will pretty much cover our entire front door.  Best of all, it's erasable, re-usable, and budget-sound.  With all the fonts available online, you can do some beautiful lettering, as long as you can trace and erase.

Photos of the finished piece coming soon.

Monday, 9 January 2012

Secret Message Invitations for a Teen Party

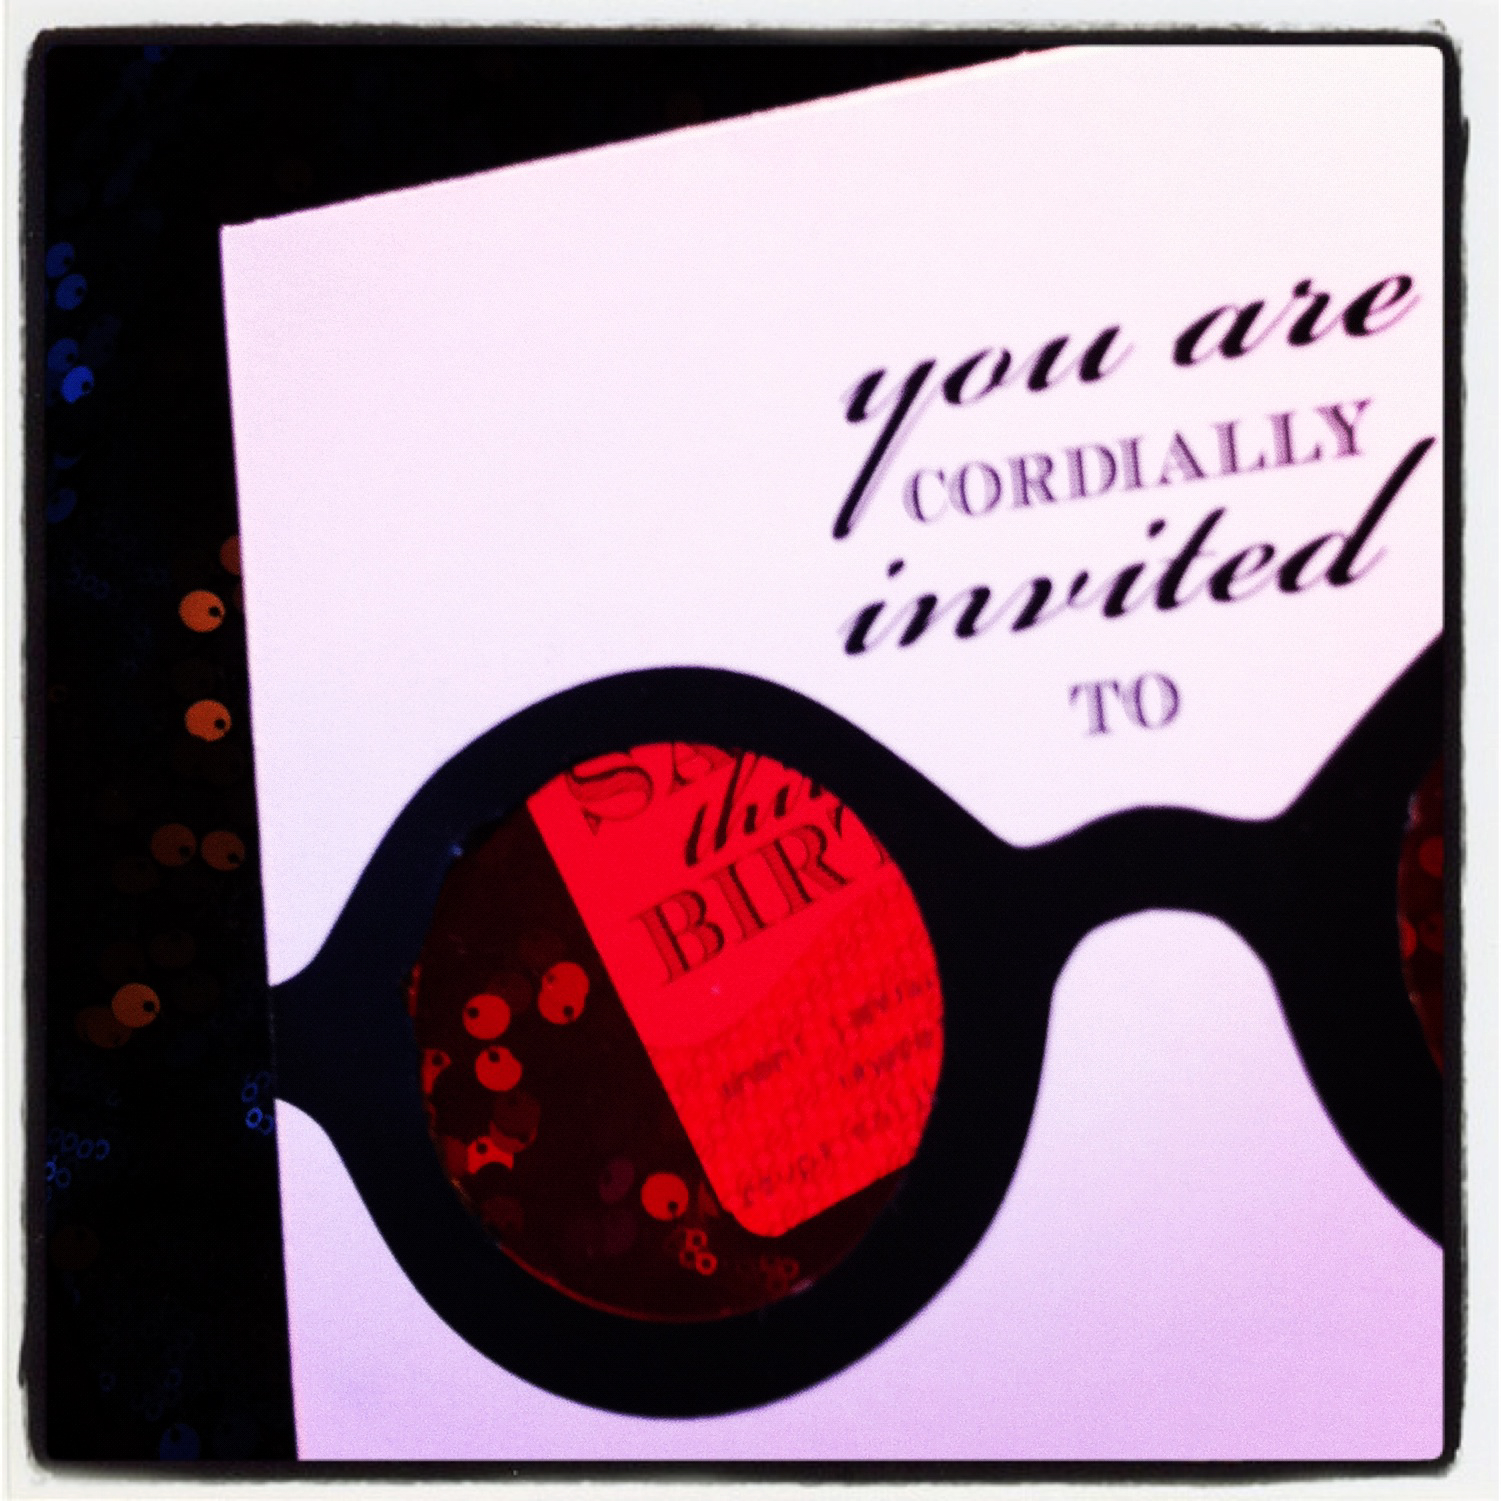
I'm so excited about my latest invitation project.  This one is near and dear to my heart because, for once, I'm designing for my own daughter who finally wants to have an actual birthday party this year.  After some brainstorming and combing the web for inspiring ideas, we came up with a clean, modern graphic (which appeals to her "grown-up" aesthetic) with the interactive element of a secret message (which speaks to her playful personality).

The front of the invitation features some red lens glasses and the ubiquitous moustache motif which teens seem to find so appealing.

Flip it over and you'll find a separate card tucked into the moustache.

Pull out the card and a "secret message" with all the party details is printed behind a screen of coded ciphers.


You'll need to read the message through the magic glasses in order to find your way to this super-fun soiree.


It's such a balancing act to create something artistic, clever, and at the same time appealing to fussy teen clients, so I'm thrilled (and relieved) to learn that the invitation was a huge hit with all her friends.

Monday, 2 January 2012

Finally... A Party for My Own Daughter

I can't believe it's time to plan my daughter's 13th birthday party and I've been saving this painting for the past decade for precisely... this moment!  So far, we've come up with black, white and hot pink.  What could be more perfect?

Thursday, 17 November 2011

Still Life with Cat and Cartoon Birds


Taking a short break to post one of my Still Life with Cat photos.  Luckily, my subject can sleep through anything, including cartoon birds twittering around him.

A Who-liday Display


I'm scouring my archives for inspiration for a holiday-themed display, and rather than going down the usual path of cute reindeer and frosty snowflakes, I thought I'd embrace my inner Who.  I can't think of a more fun color scheme than turquoise, red and white for the holidays.  To top it all off, the handpainted flourishes and dimensional embellishments make it irresistable.

Photos of the final project shortly...

Tuesday, 15 November 2011

Cozy Woodland Cottage

For a Snow White-themed party for a lucky three-year-old, I built a 10'-tall entry archway to the main party space, which incorporated various faux painting finishes.  Yellow ochre, burnt umber, and burnt sienna acrylic paint, applied in streaks fools the eye into thinking it's seeing bundled thatch. 

A faux bois technique in a mahogany colors paired with simple grisaille painting for the shadows and highlights look like carved beams.

The arch of foliage in with leaves in ten shades of green mimic an espaliered tree, complete with twisted and braided branches.  To heighten the illusion, silk ficus branches and miniature apples are incorporated into the arch, and the young guests delighted in picking the apples, which were attached with velcro and ready to be picked over and over!  Shhhhh... don't tell anyone... this arch is completely crafted from foamboard.


Another entrance, this one in the shape of a tiny cottage, was built just tall enough for children... and dwarves.  To enter, if you're over four feet tall, you'll need to crouch!


In the Whistle While You Work Kitchen, hand-painted set pieces set the stage for pretend play fun.  We started with a 6-foot rental table and draped the top with a standard yellow cloth.  After that, we went to town with the painted finishes.  The backsplash features timbered edging, a mini cabinet, and a Delft blue tile panel.  A trompe l'oeil utensil rack depicts painted ladles, skillets and pans, with a few real wooden spoons mixed in.

Draping the table to the floor is a hand-painted canvas skirt which depicts shelves laden with baskets of fruit, eggs, mason jars, earthenware bowls, and all the things that make for a well-stocked larder, painted with no detail overlooked.

Sunday, 13 November 2011

Once Upon a Time...


A few months ago, I designed a a storybook-style birthday party invitation inspired by "Snow White and the Seven Dwarves. "  Using a palette of sparkly gold, apple red, and royal blue, the design was fit for a princess!

I started with a flapped gift box covered in quilted gold paper, and applied the custom designed mirror artwork and illustrations to the cover and inside pages.  As a final surprise, the party information was printed backwards, and invited guests were only able to read it with the magic mirror mounted to the inside of the book.


For that last irresistible touch, I added dimensional elements --- sequins, foil flowers and leaves, gold dimensional paint, glitter puffy paint, a glass apple charm and, of course, a red satin bow --- for a truly tactile and visual treat.

Monday, 21 February 2011

Photos of my work on Good Morning America

Wow, event planning wizard, Leesa Zelken of Send In The Clowns in Los Angeles, was featured on Good Morning America in a segment on extreme birthday parties this morning.  Photos of parties we've done together were shown in a montage along with Leesa's spin on the kid's event planning industry here in Los Angeles.

One of the controversies over extravagant birthday parties is the appropriateness of spending large sums in this sagging economy.  I say, go for it.  These clients are not mortgaging their home to throw a birthday party, but spending a small portion of their discretionary income, and putting hundreds of people to work in the process.

Also featured in the segment was a family from a TLC show about outrageous birthday parties.  For the record, in all my years designing parties, I have never had a client meeting with a 6-year-old!  Such a skewed take on the process (this is just not what happens), but I love watching it anyway.  Reality on reality television?  Not this time.


Wednesday, 7 July 2010

I'm a Little Bit Country, Part 2


Lots of vibrant colors and fine detailing in this painted backdrop for a country store. Painted on canvas, these shelves will always stay neat and well-stocked.


I'm a Little Bit Country...


What's a country-style party without lemonade? Here's a peek at some faux bois with hand painted lettering to dress out a lemonade and popsicle stand. How about a country store? But of course!


Thursday, 1 July 2010

It's all in the details...

Blocking in patches of color as groundwork for the detailing that comes in later.